Cheesy Tuna Melt Wrap
Highlighted under: Bachelor Food
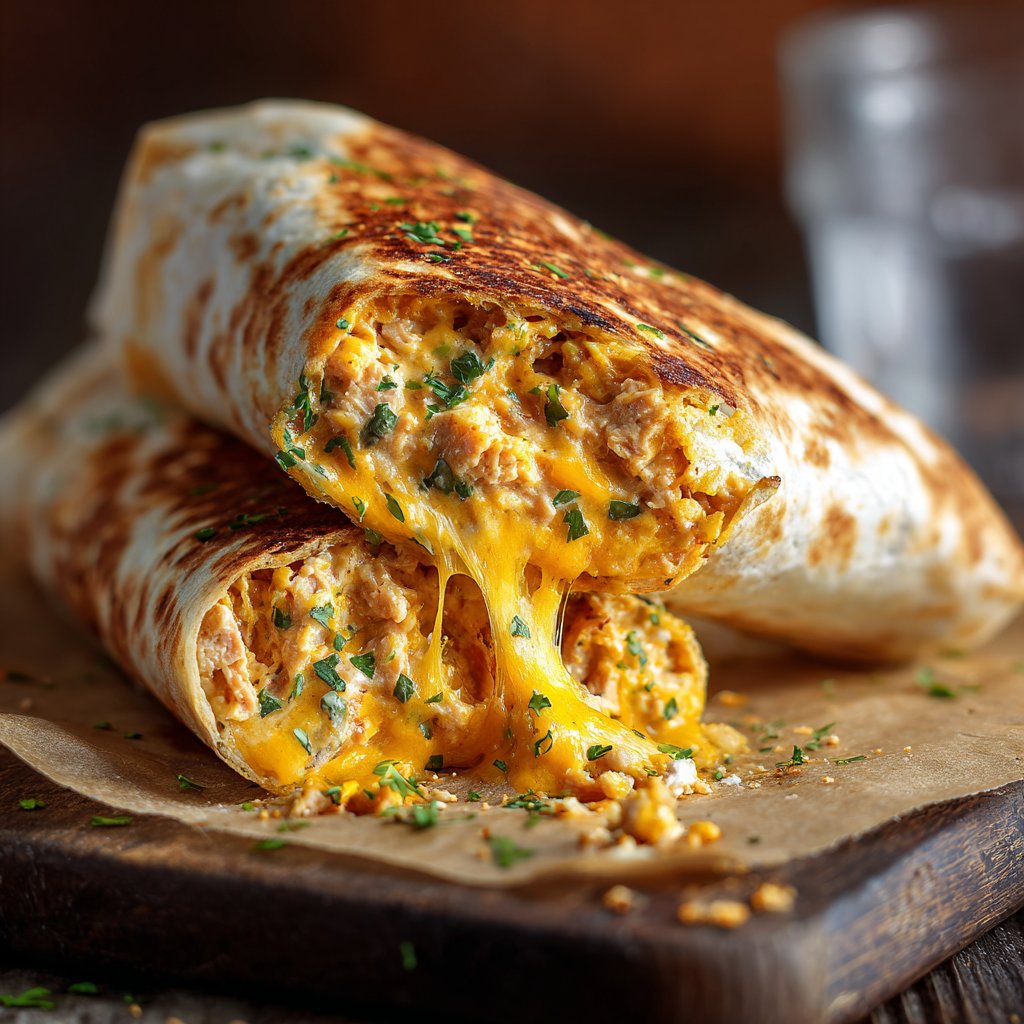
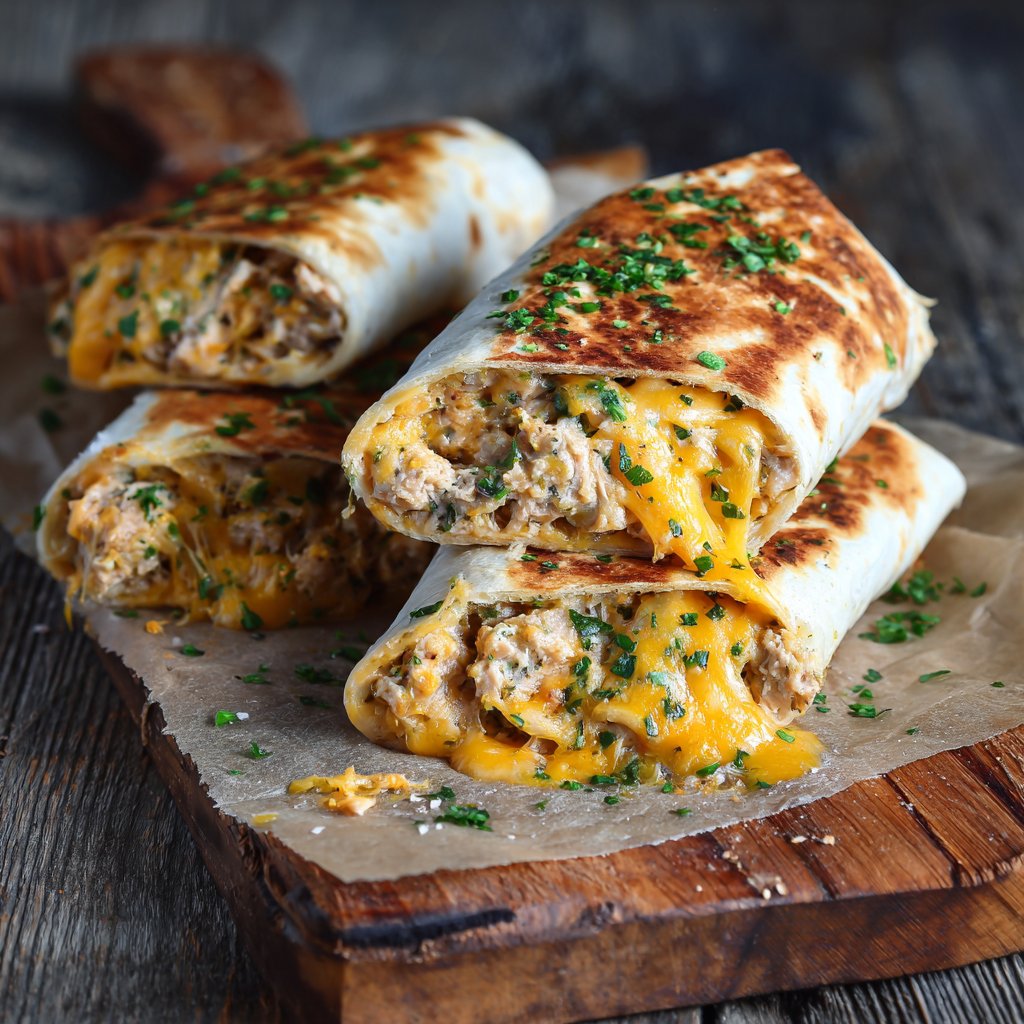
I am excited to share my Cheesy Tuna Melt Wrap recipe with you! The perfect fusion of creamy tuna salad and gooey cheese all wrapped up in a soft tortilla makes this dish my go-to for a quick lunch or satisfying snack. It’s hassle-free to prepare and full of flavor, making it great for busy days or cozy evenings. With a few simple ingredients, you can whip this up in just minutes, and trust me, your taste buds will thank you for this delightful treat!
When I first tried to make a tuna melt, I was surprised at how simple it was to combine the flavors of tuna and cheese. I often experiment with different cheeses and toppings, but the classic cheddar remains my favorite. It melts perfectly, creating a delicious gooey texture that perfectly complements the tuna salad.
This recipe really shines when you toast it, allowing the tortilla to crisp up while the inside gets warm and melty. I recommend using a skillet for an even, golden crust, as it enhances the flavors and textures beautifully. Trust me, your kitchen will smell heavenly!
Why You'll Love This Recipe
- Creamy, cheesy goodness that satisfies every craving.
- Quick preparation makes it perfect for busy weekdays.
- A tasty twist on the classic tuna sandwich!
Perfecting the Tuna Filling
The tuna filling is the star of this wrap, and using quality ingredients is key to an exceptional flavor. I recommend opting for albacore tuna for its milder taste and firm texture, which pairs beautifully with the creaminess of mayonnaise. For a little tang, use Dijon mustard as it adds depth without overpowering the delicate fish. Make sure to chop the celery finely; this way, it integrates seamlessly and provides a satisfying crunch in every bite.
Don’t be afraid to customize the filling according to your taste preferences. For extra flavor, consider adding chopped pickles or a dash of hot sauce for some heat. If you want a healthier twist, Greek yogurt can be used instead of mayonnaise. This not only lowers calories but also boosts protein content, enhancing the nutritional profile of your wrap. Mix and match your favorite ingredients to discover your perfect tuna filling!
Grilling Techniques for Golden Perfection
When grilling the wraps, achieving that perfect golden brown exterior is essential for both aesthetics and texture. Preheat your skillet to medium heat, ensuring it’s hot enough to create a sear without burning the tortillas. A non-stick skillet or a well-seasoned cast iron pan works best here, as they help prevent sticking while providing an even cooking surface. Remember to keep an eye on the wraps; they can go from perfectly toasted to burnt quickly.
I like to add a bit of butter to the skillet before placing my wraps, which not only adds flavor but also creates a beautifully crisp crust. As they cook, gently press down on the wraps with a spatula to improve contact with the skillet, promoting even browning and melting. Keep grilling for about 2-3 minutes on each side, and watch for the cheese to ooze out slightly, signaling that it’s gooey and ready to serve!
Ingredients
Ingredients
For the Tuna Filling
- 1 can (5 oz) tuna, drained
- 1/4 cup mayonnaise
- 1 tablespoon mustard
- 1/4 cup chopped celery
- Salt and pepper to taste
For the Wrap
- 2 large tortillas
- 1 cup shredded cheddar cheese
- Butter for grilling
Mix all ingredients in a bowl for the filling and set aside.
Instructions
Instructions
Prepare Tuna Filling
In a medium bowl, combine the drained tuna, mayonnaise, mustard, chopped celery, salt, and pepper. Mix until well combined.
Assemble the Wraps
Spread the tuna filling evenly over each tortilla. Sprinkle the shredded cheddar cheese on top of the tuna.
Grill the Wraps
Fold the tortillas in half and heat a skillet over medium heat. Add a little butter and place the folded wraps in the skillet. Grill for about 2-3 minutes on each side until golden brown and the cheese is melted.
Serve
Remove from the skillet, cut in half, and serve warm. Enjoy your Cheesy Tuna Melt Wrap!
Pro Tips
- For added flavor, try adding a slice of tomato or some chopped pickles to the tuna filling. You can also use different types of cheese like mozzarella or pepper jack for a spicy kick!
Storage and Make-Ahead Tips
If you want to prepare your Cheesy Tuna Melt Wrap ahead of time, make the tuna filling and store it in an airtight container in the refrigerator for up to three days. This allows the flavors to meld beautifully, making your wrap even tastier when assembled. However, I recommend waiting to grill the wraps until just before serving, as they taste best fresh and crispy. If you must store the wraps, wrap them tightly in foil to retain moisture and prevent sogginess.
Reheating is simple if you decide to make extra wraps in advance. Preheat the skillet on medium-low heat to ensure the tortilla warms through without overcooking. Heat for about 2-3 minutes on each side, just long enough for the cheese to melt and the exterior to crisp back up. Alternatively, for a quicker method, you can microwave them, but I find that it sacrifices that desirable crunch.
Serving Suggestions
To elevate your Cheesy Tuna Melt Wrap experience, consider serving it with a side of crispy potato chips or a light salad. The crunch from the chips complements the creamy texture of the filling, while a fresh salad adds a refreshing contrast to the richness of the cheese. Dressing the salad with a lemon vinaigrette can add brightness and balance to your meal.
Feel free to get creative with dipping sauces! A tangy tartar sauce or zesty sriracha mayonnaise can enhance the flavors of the wrap. For a more gourmet twist, pair it with a basil pesto or roasted red pepper sauce. These accompaniments not only add flavor but enhance the overall presentation, making your lunch feel a bit more special.
Questions About Recipes
→ Can I use fresh tuna instead of canned?
Absolutely! Just cook the fresh tuna until it’s flaky and follow the same mixing instructions.
→ What can I use instead of mayonnaise?
Greek yogurt or avocado are great alternatives for a healthier option.
→ Can I make this in advance?
You can prepare the tuna filling ahead of time, but it's best to assemble the wrap just before grilling for optimal freshness.
→ What side dishes pair well with these wraps?
A simple salad or some crispy potato chips would complement the Cheesy Tuna Melt Wrap perfectly!
Cheesy Tuna Melt Wrap
Created by: The Chefdominicooks Team
Recipe Type: Bachelor Food
Skill Level: Easy
Final Quantity: 2 wraps
What You'll Need
For the Tuna Filling
- 1 can (5 oz) tuna, drained
- 1/4 cup mayonnaise
- 1 tablespoon mustard
- 1/4 cup chopped celery
- Salt and pepper to taste
For the Wrap
- 2 large tortillas
- 1 cup shredded cheddar cheese
- Butter for grilling
How-To Steps
In a medium bowl, combine the drained tuna, mayonnaise, mustard, chopped celery, salt, and pepper. Mix until well combined.
Spread the tuna filling evenly over each tortilla. Sprinkle the shredded cheddar cheese on top of the tuna.
Fold the tortillas in half and heat a skillet over medium heat. Add a little butter and place the folded wraps in the skillet. Grill for about 2-3 minutes on each side until golden brown and the cheese is melted.
Remove from the skillet, cut in half, and serve warm. Enjoy your Cheesy Tuna Melt Wrap!
Extra Tips
- For added flavor, try adding a slice of tomato or some chopped pickles to the tuna filling. You can also use different types of cheese like mozzarella or pepper jack for a spicy kick!
Nutritional Breakdown (Per Serving)
- Calories: 350 kcal
- Total Fat: 22g
- Saturated Fat: 10g
- Cholesterol: 45mg
- Sodium: 550mg
- Total Carbohydrates: 28g
- Dietary Fiber: 3g
- Sugars: 1g
- Protein: 18g